What is a bleed?
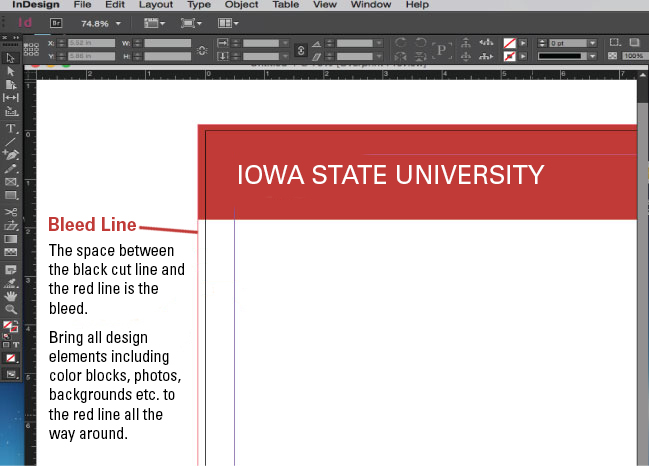
 Bleed is a printing term that is used to describe a document which has images or elements that touch the edge of the page.
Why do you need to add a bleed to your files?
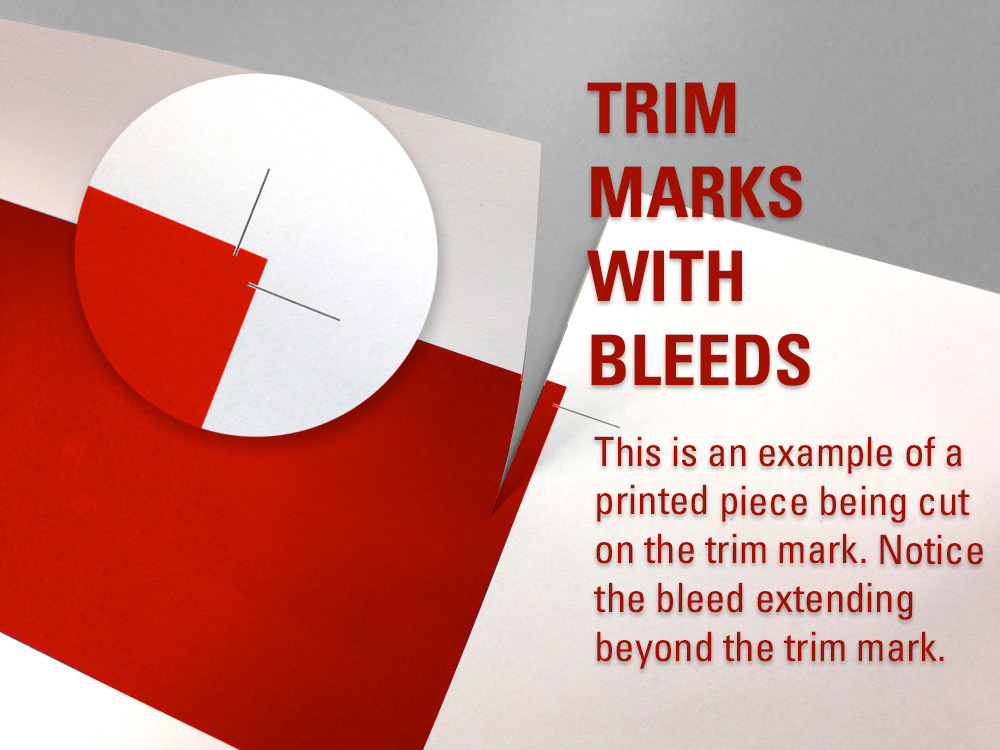
After trimming, the bleed ensures that no unprinted edges occur in the final trimmed document. It is very difficult to print exactly to the edge of a sheet of paper/card, so to achieve this, it is necessary to print a slightly larger area than is needed and then trim the paper/card down to the required finished size. Trim marks are added by our machines to let the cutter know where to trim.
Setting a bleed in Adobe InDesign and Illustrator
Creating a new document
You can set bleeds when you create a new document. Go to file then new, select inches as the unit measurement. Then scroll down to find the bleed section where you will set all sides to .125″. Your new document will have a red box outside your print area where you will expand your graphics out to.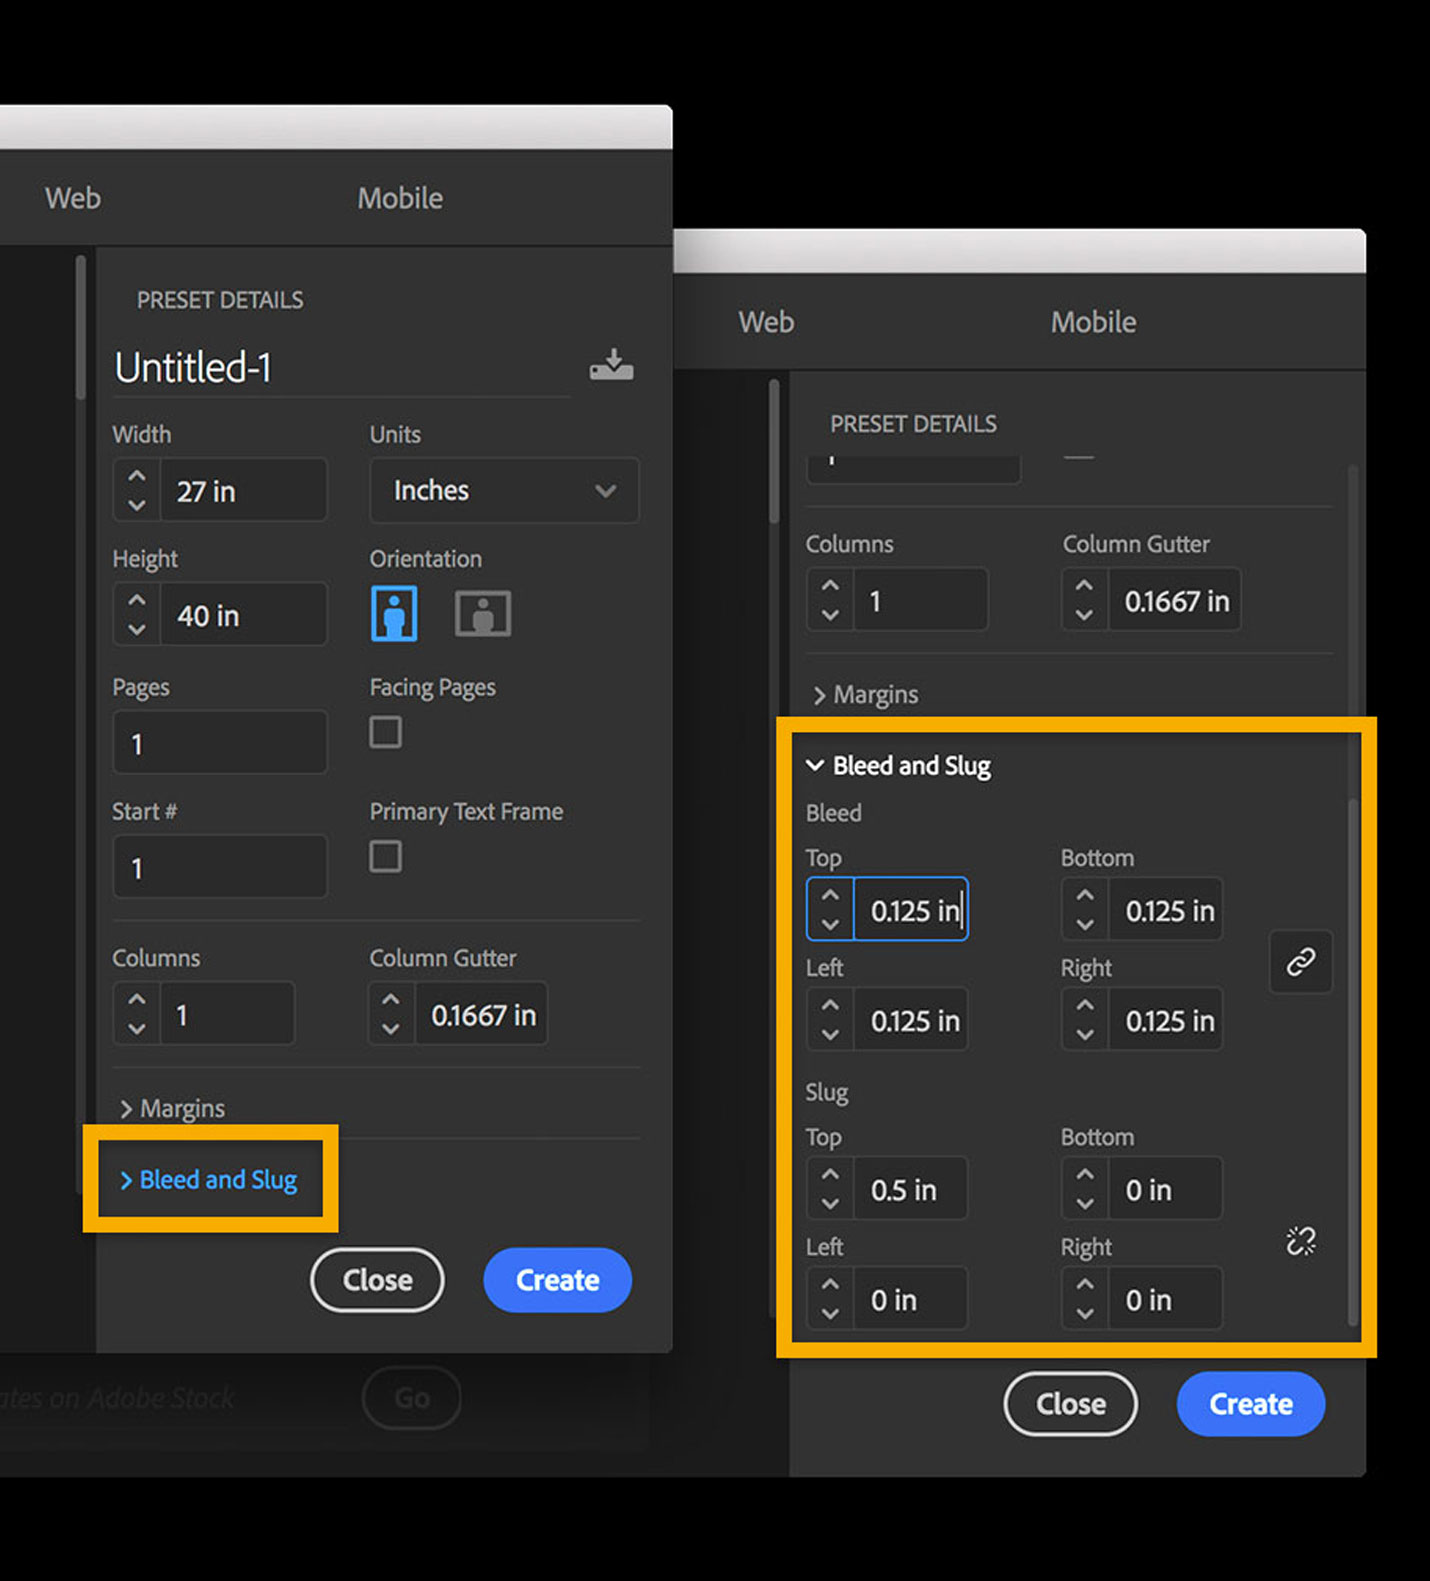
Adding to an existing document
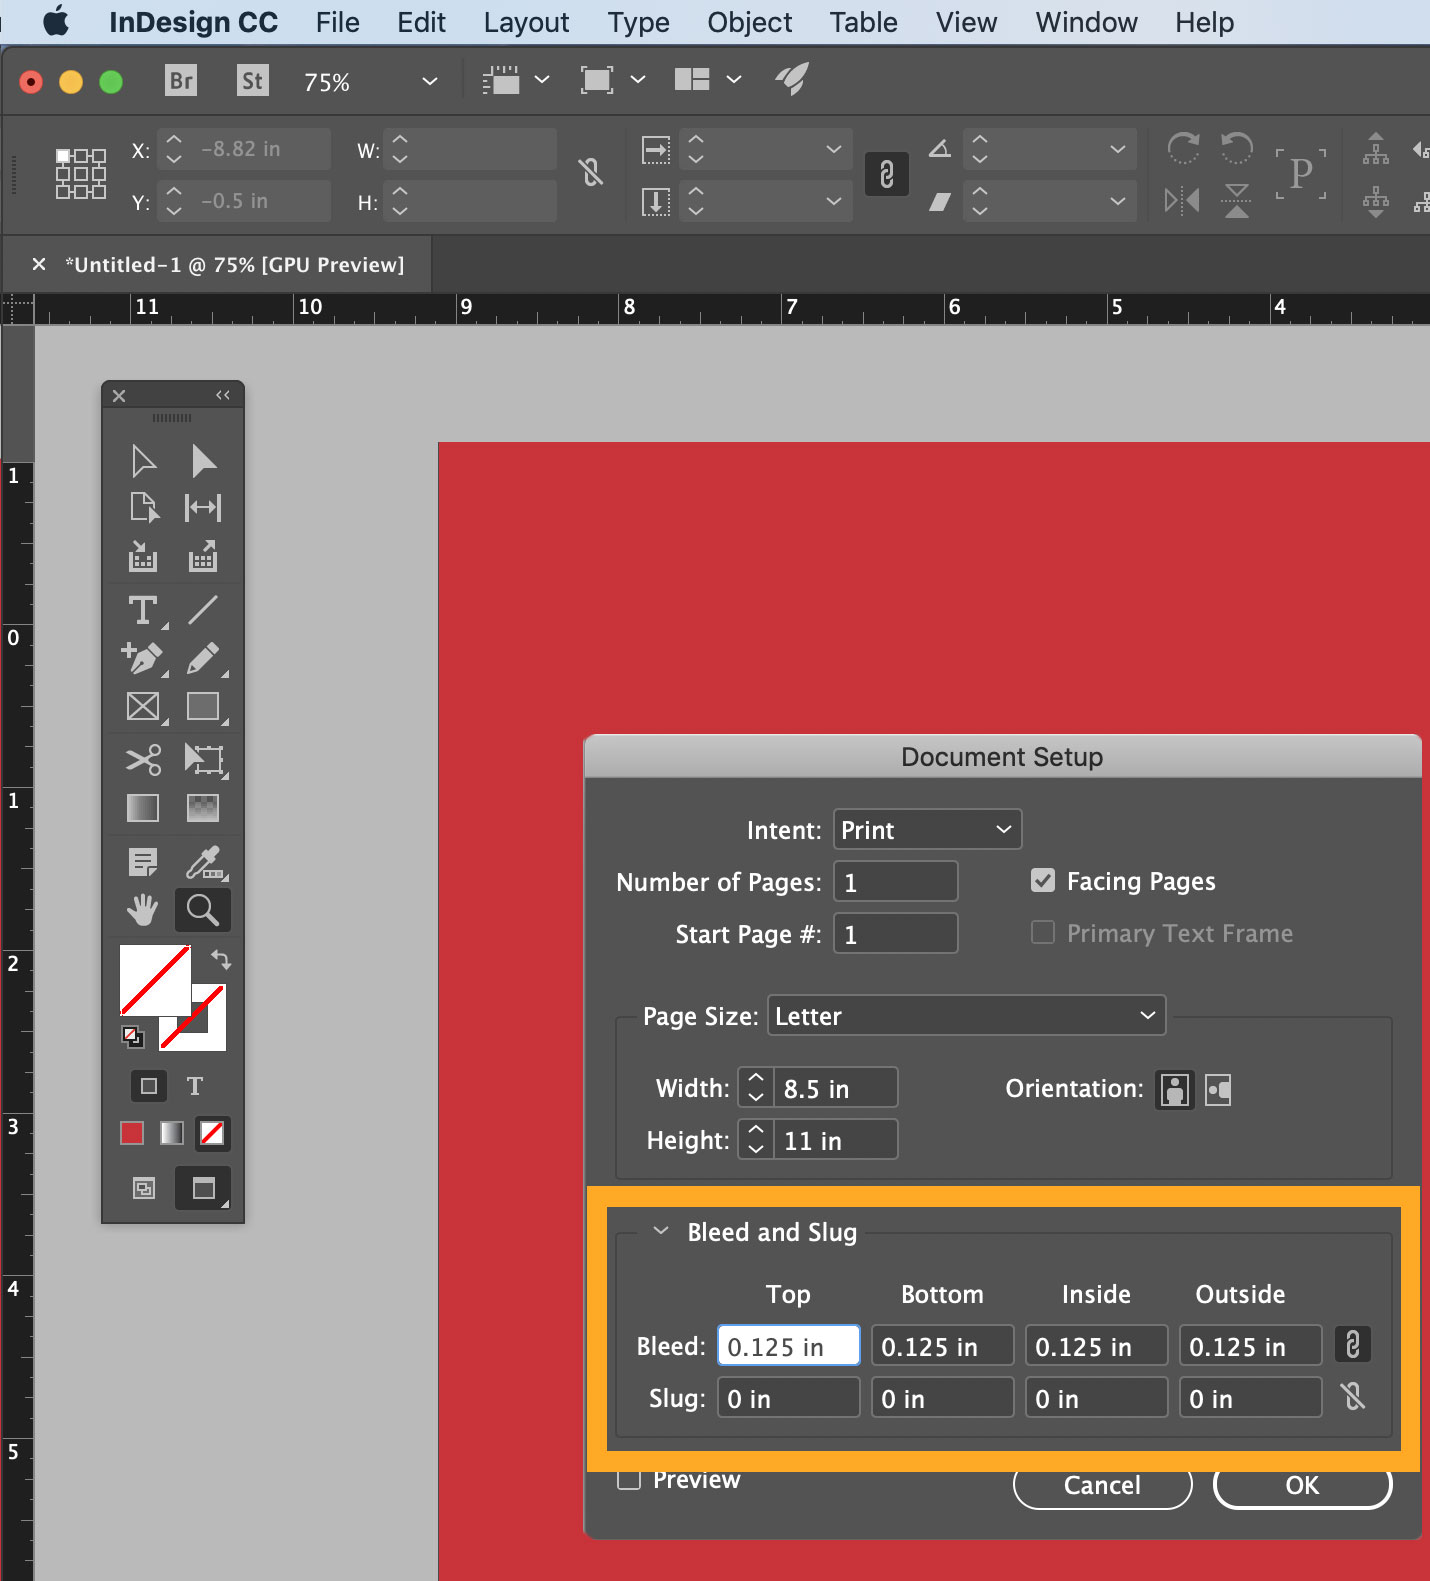
You can also set bleeds(.125″ on each side) on an existing document by going to file, document setup. This window will look slightly different in Illustrator but there is a section to add bleed measurements here as well.
Bringing out the bleed